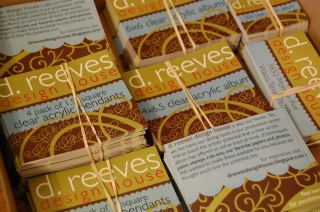
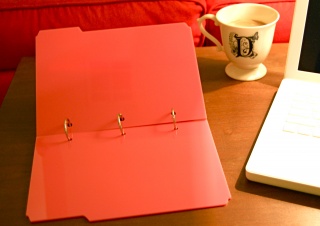
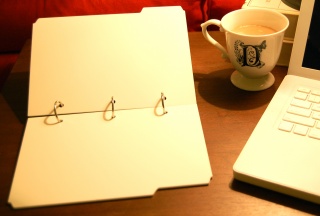
d. reeves design house has gone color! We are so excited to introduce two great colors to our existing clear acrylic line. First, we have a vibrant dusty pink. This colored acrylic reminds us of that great vintage glass tile you find in cute cottage homes. Next, we added a wonderful white color. This clean opaque acrylic color makes the perfect background for bold prints, and its modern feel is just right for showing off you black and white photos.
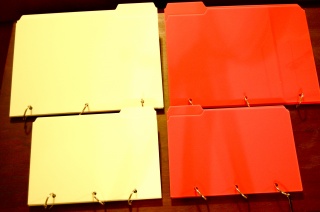
These two new colors come in all our current sizes, and are available in two new shapes! What new shapes? Well, not only have we gone color; d. reeves design house is also getting down to business. We know that we all want to be organized, but we want to do it with style, right? So we are introducing our Style File and Mini Style File. The Style File, a perfect replica of that iconic manilla folder, works brilliantly for ordering all of your design ideas. The Mini Style File, measuring 8.5" x 5.5", is a real multi-tasker. We use one of ours as a day planner, and another one as a gift idea guide: anniversaries, birthdays, holidays, all in one place! Both of the Style Files are, of course, very cute as albums as well. And both are available in pink, white and clear.
Here are a few pics of our new Style Files and Mini Style Files in pink and white, followed by some examples of how we've used our new products:
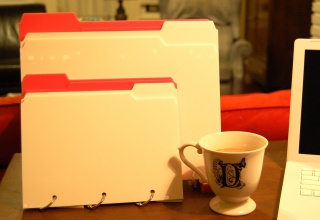
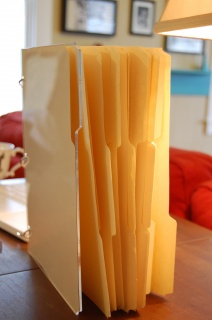

Fill the Style File full of manila file folders like I did, you are sure to stay organized.
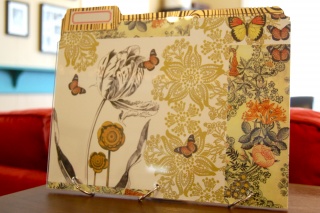
Here I used some paper from Cavallini and Co. and some transparency for the back of the clear Style File.
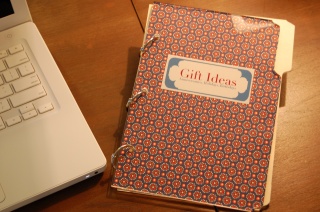
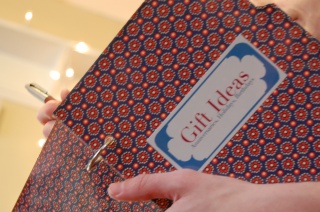
I made a gift idea notebook with the clear Mini Style File. I used some fabulous vintage inspired paper and a custom label. Here I can brainstorm ideas and keep track of what we give friends and family year after year.
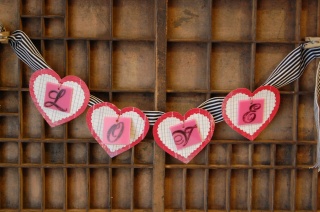
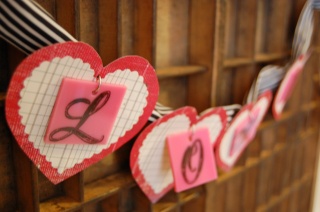
Happy hearts and our cute pink 1.5" square pendants were used to make this festive banner. I used permanent ink to stamp the letter on each pendant. I attached them to the hearts with jump rings.
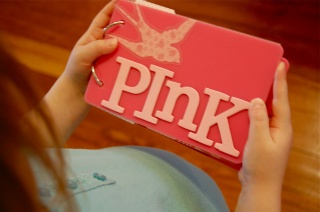
My daughter's favorite color is pink, so I made here a pink book using our 4x6.5 pink album. I filled it up with pretty pink papers, flowers and other pink items.
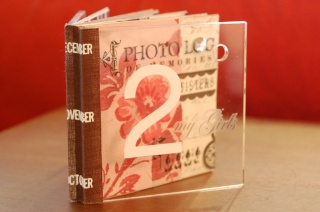
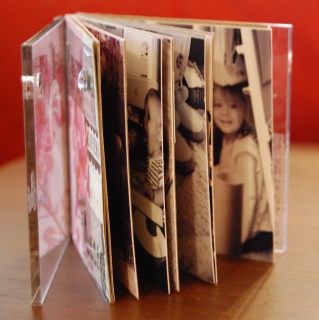
This is a little 3x3 clear mini album housing some of my favorite photos of our girls. I used book binding taper to attach the pages to the cover, rather than the standard binder ring.
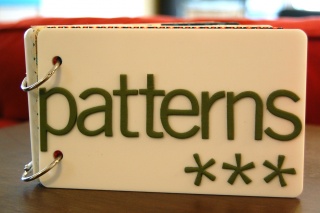
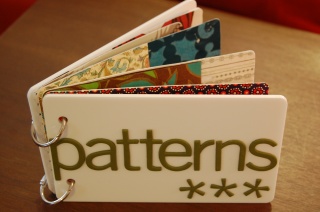
A book of patterns. I am always inspired by design and patterns. For this book, I used our white 4x6.5 acrylic album. It is a perfect plact to experiment with mixing and matching colors and patterns; a new take on the art journal!
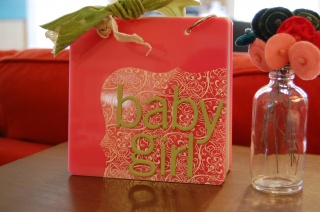
A lovely gift for a friend expecting a baby girl. I layered some painted chipboard letters over the transparency and, voila!, a quick, stylish gift. I put 12 calendar pages inside so the new mom can keep track of all her baby's firsts.
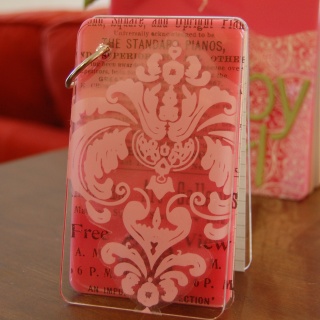
This book is a combination of our clear 3x5 and pink 3x5. I put the damask sticker on the clear cover. Then I added a printed transparency behind it, followed by one piece of the pink 3x5 album. Thick, sturdy and fabulous.
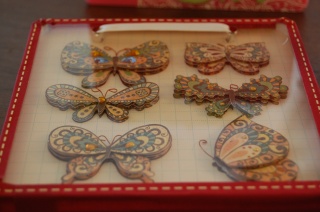
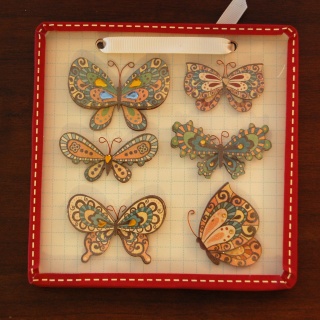
I made this shadow box with our clear 6x6 album, graph paper, butterfly stickers and book binding tape. Our version of a specimen box.
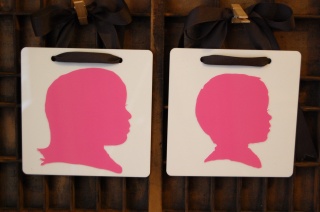
I cut the silhouettes of the girls out of photo paper and attached them to the 6x6 white album and our white pendants for a modern take on a classic piece.
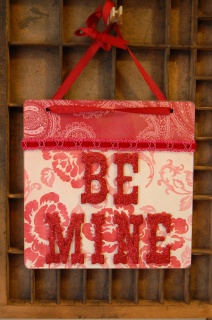
I love making signs with the clear 8x8. I attached the paper with spray adhesive and the glitter letters with glue dots.
Thanks for reading, and we hope you enjoy the new products!


Fill the Style File full of manila file folders like I did, you are sure to stay organized.


This book is a combination of our clear 3x5 and pink 3x5. I put the damask sticker on the clear cover. Then I added a printed transparency behind it, followed by one piece of the pink 3x5 album. Thick, sturdy and fabulous.


Thanks for reading, and we hope you enjoy the new products!


